1.2 Installation
This section walks through IDE preparation, SDK installation, and the most common runtime caveats so you can start experimenting with the Agilebot SDK right away.
IDE Setup
- Visual Studio is the recommended IDE for C# development. Download it from Download Visual Studio Tools - Free Install for Windows, Mac, Linux.
- After installation, launch Visual Studio and finish the initial setup (sign in, install required workloads, etc.).
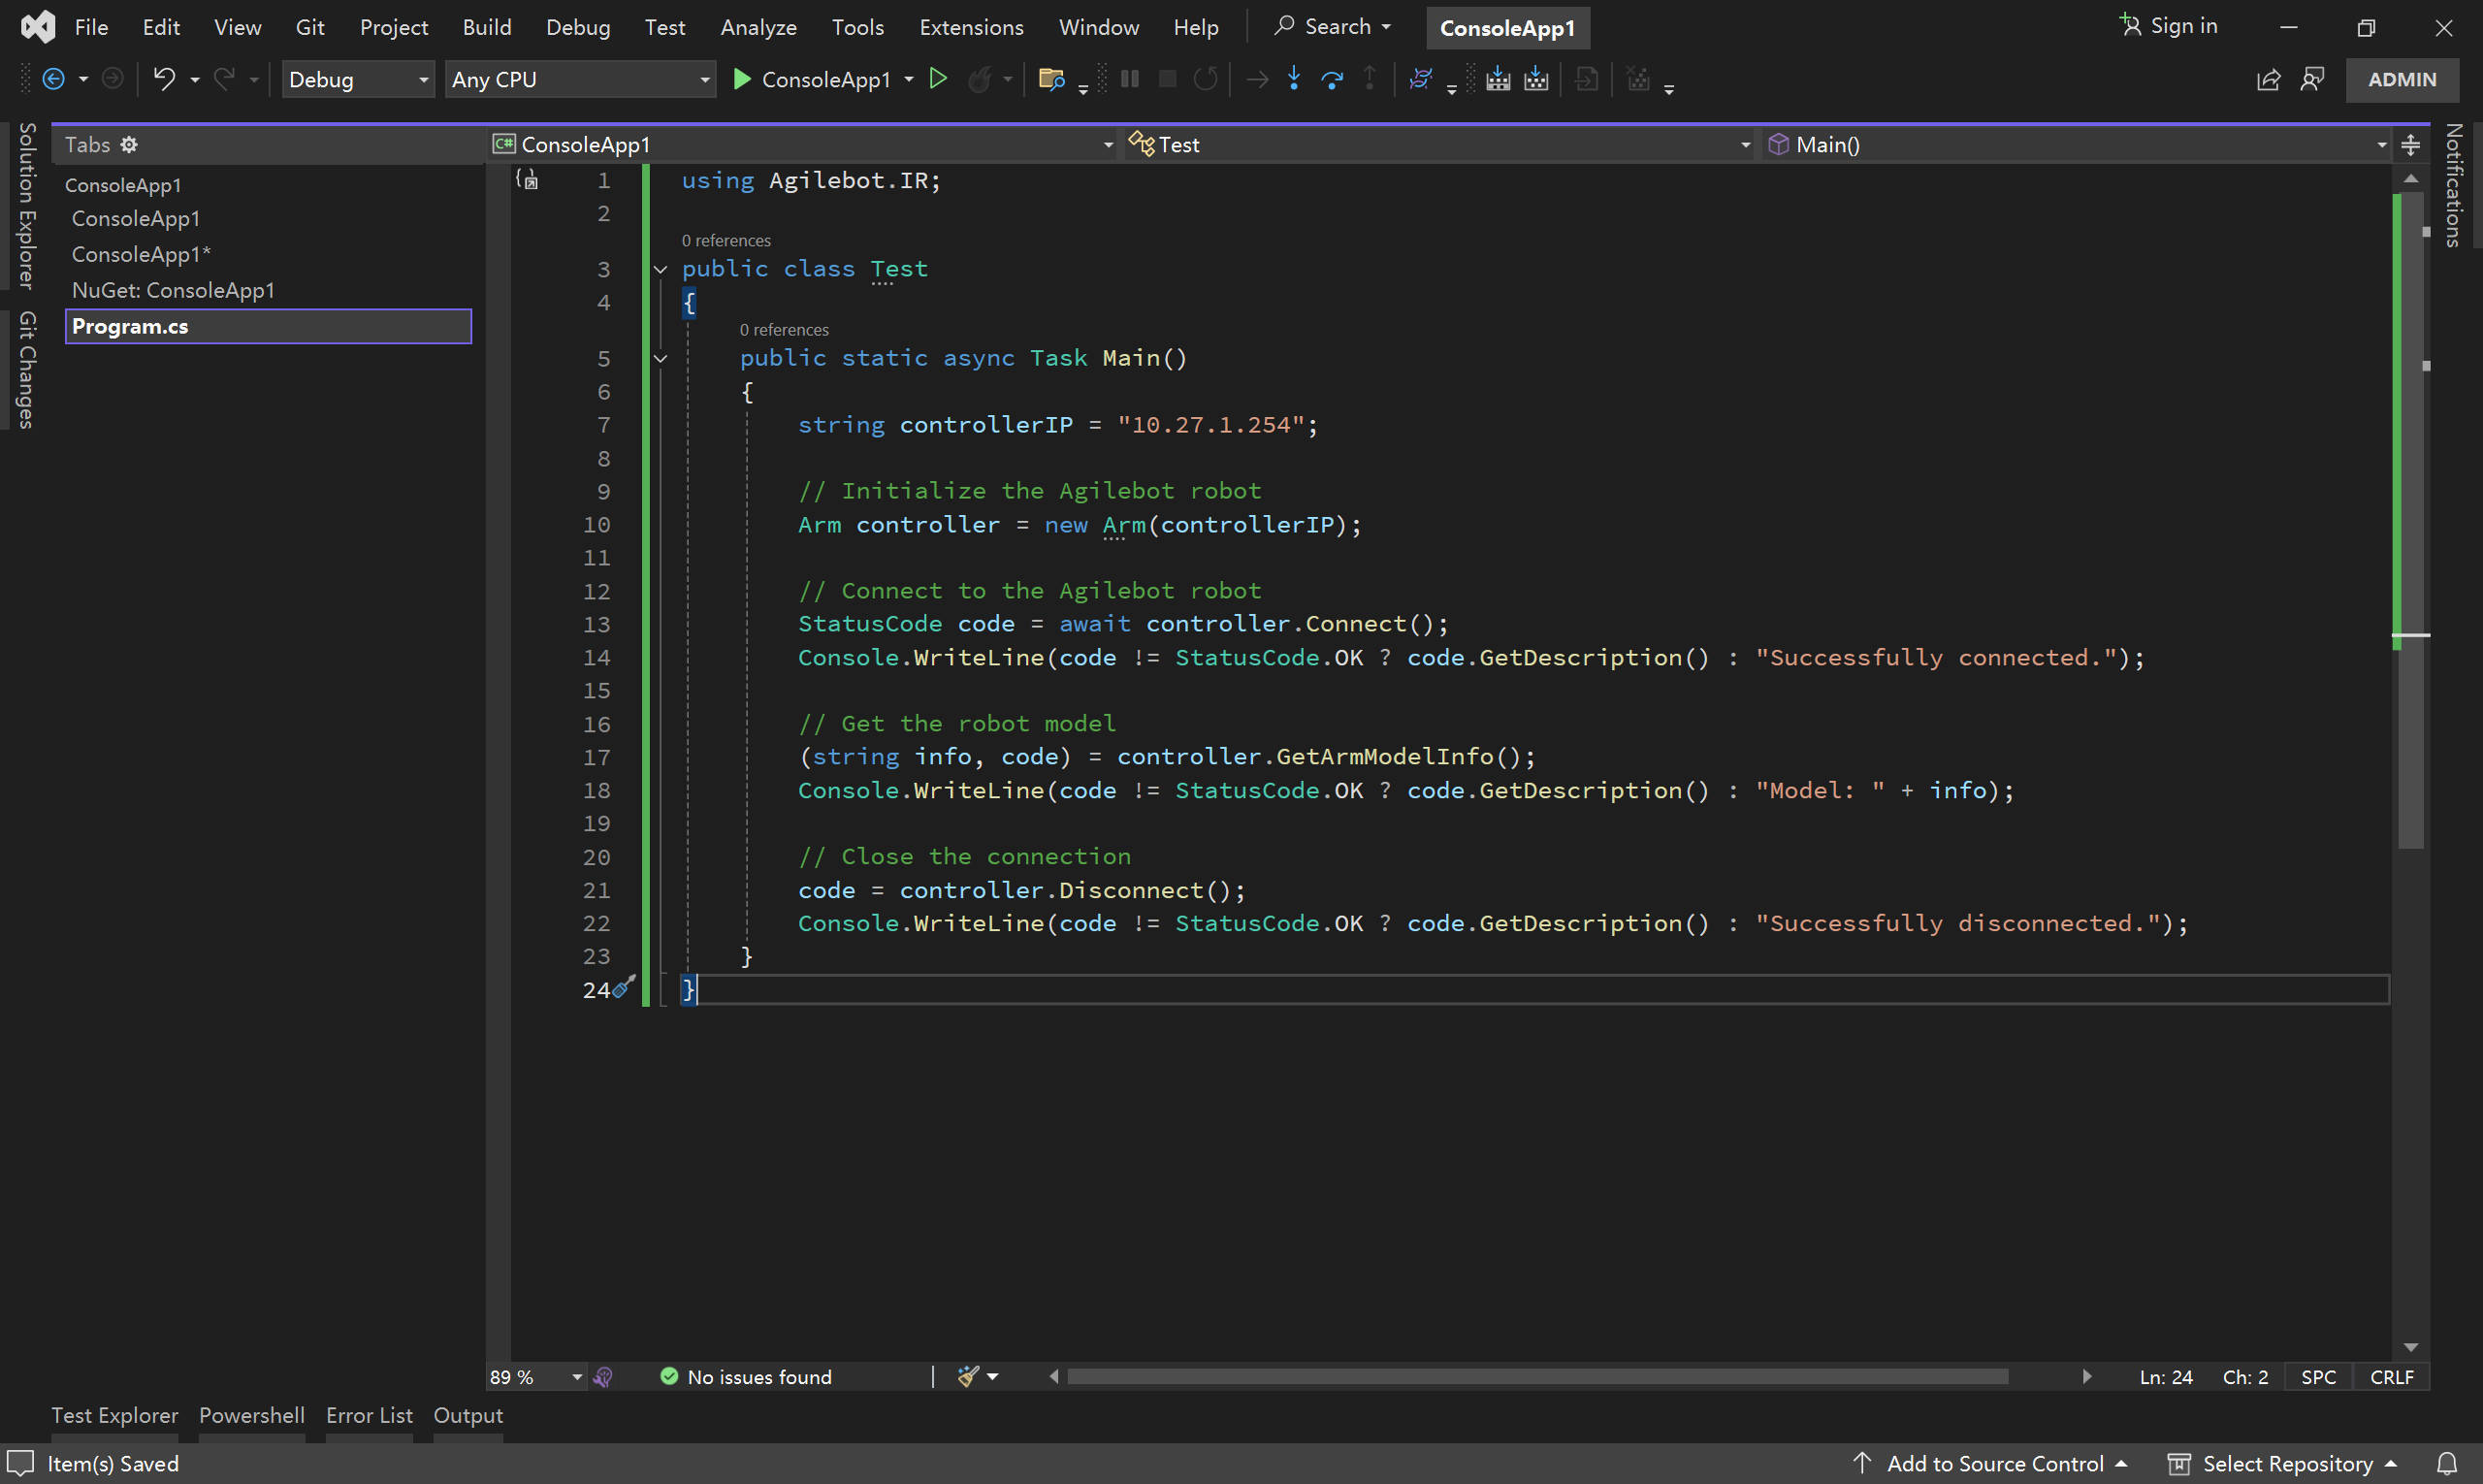
Get the SDK and Create a Project
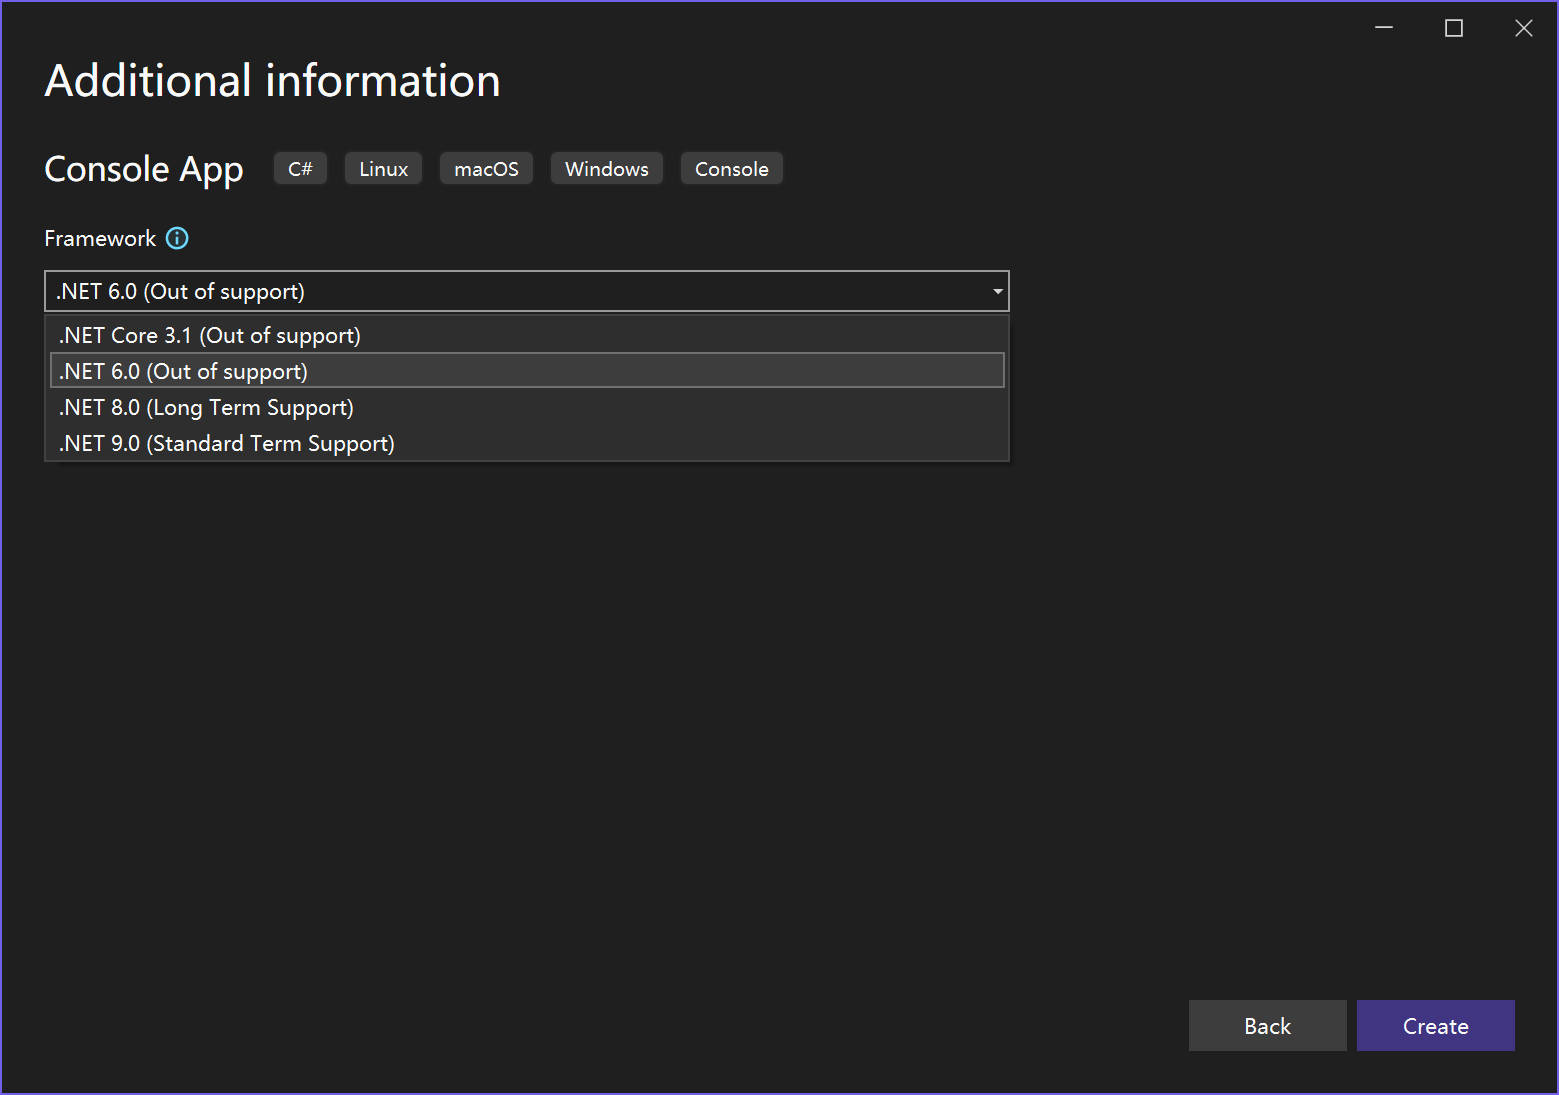
- Create a new C# Console App and choose
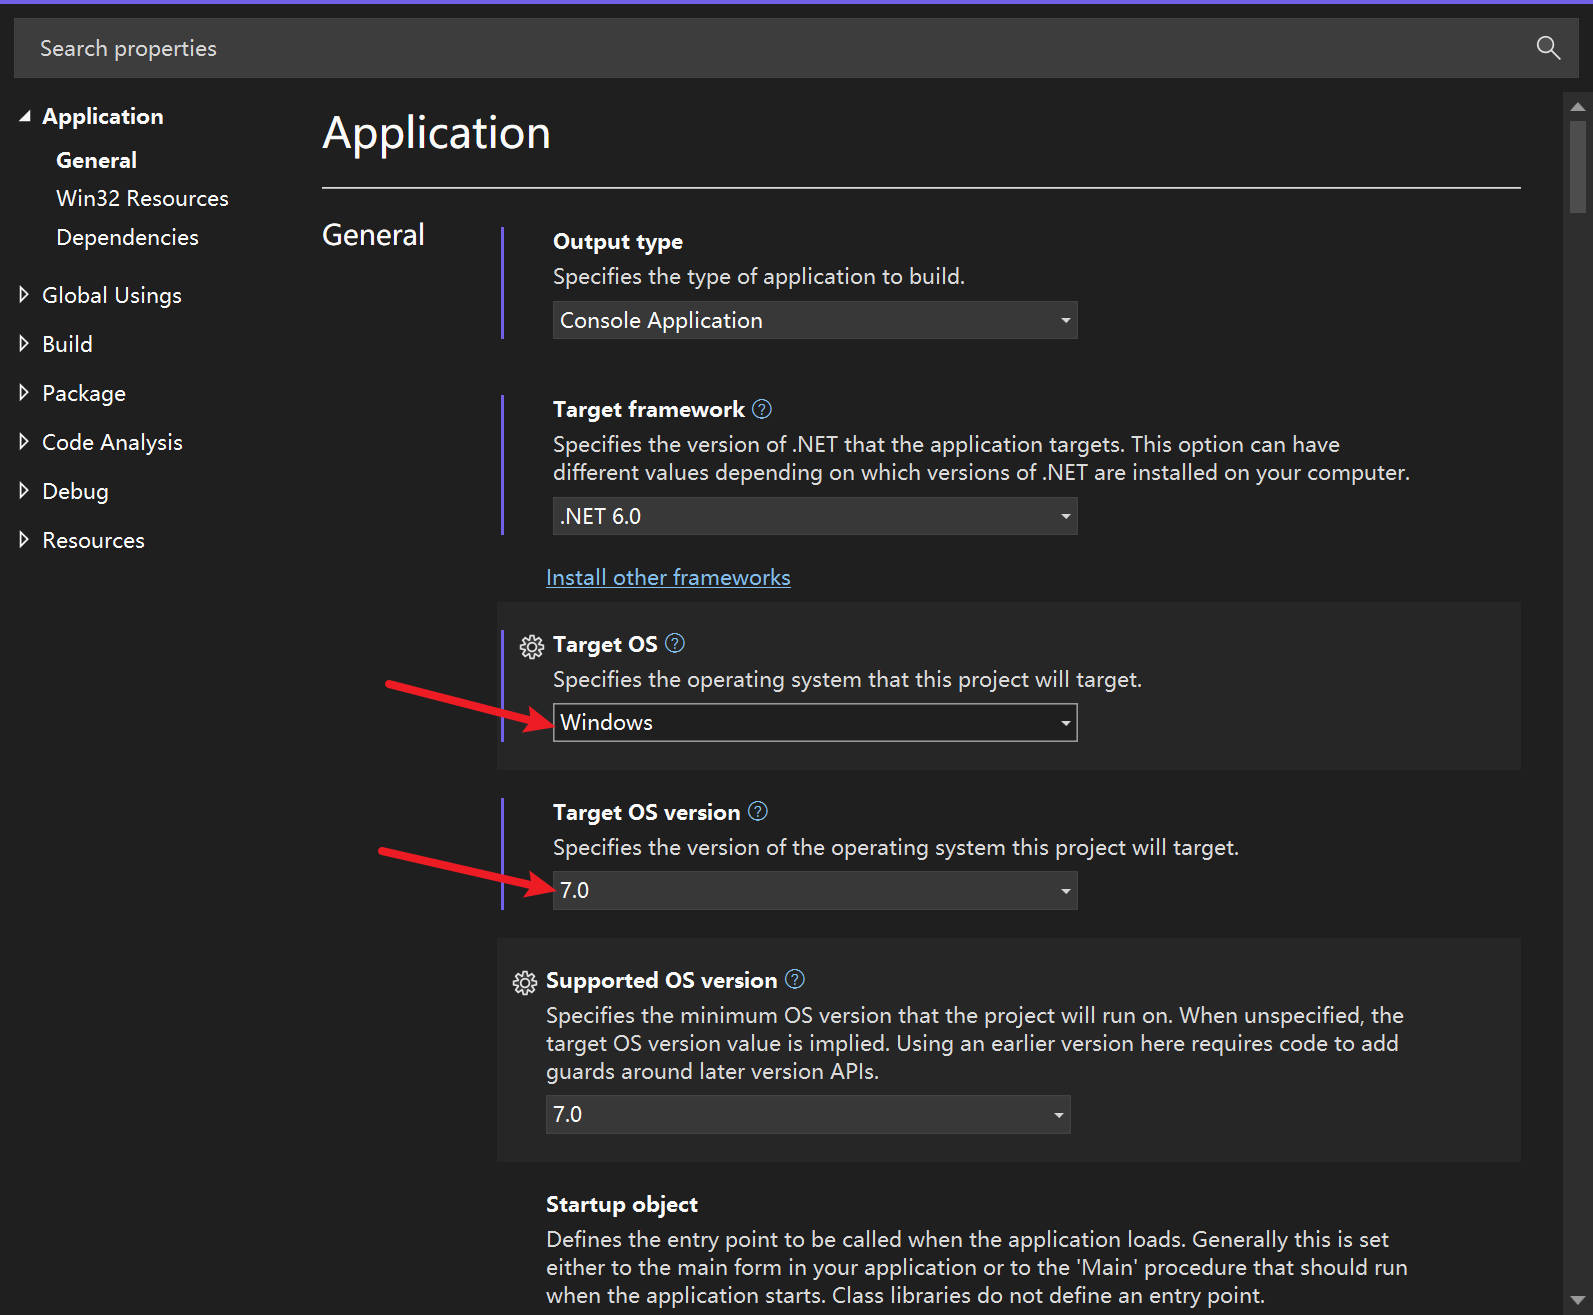
.NET 6.0or later as the target framework.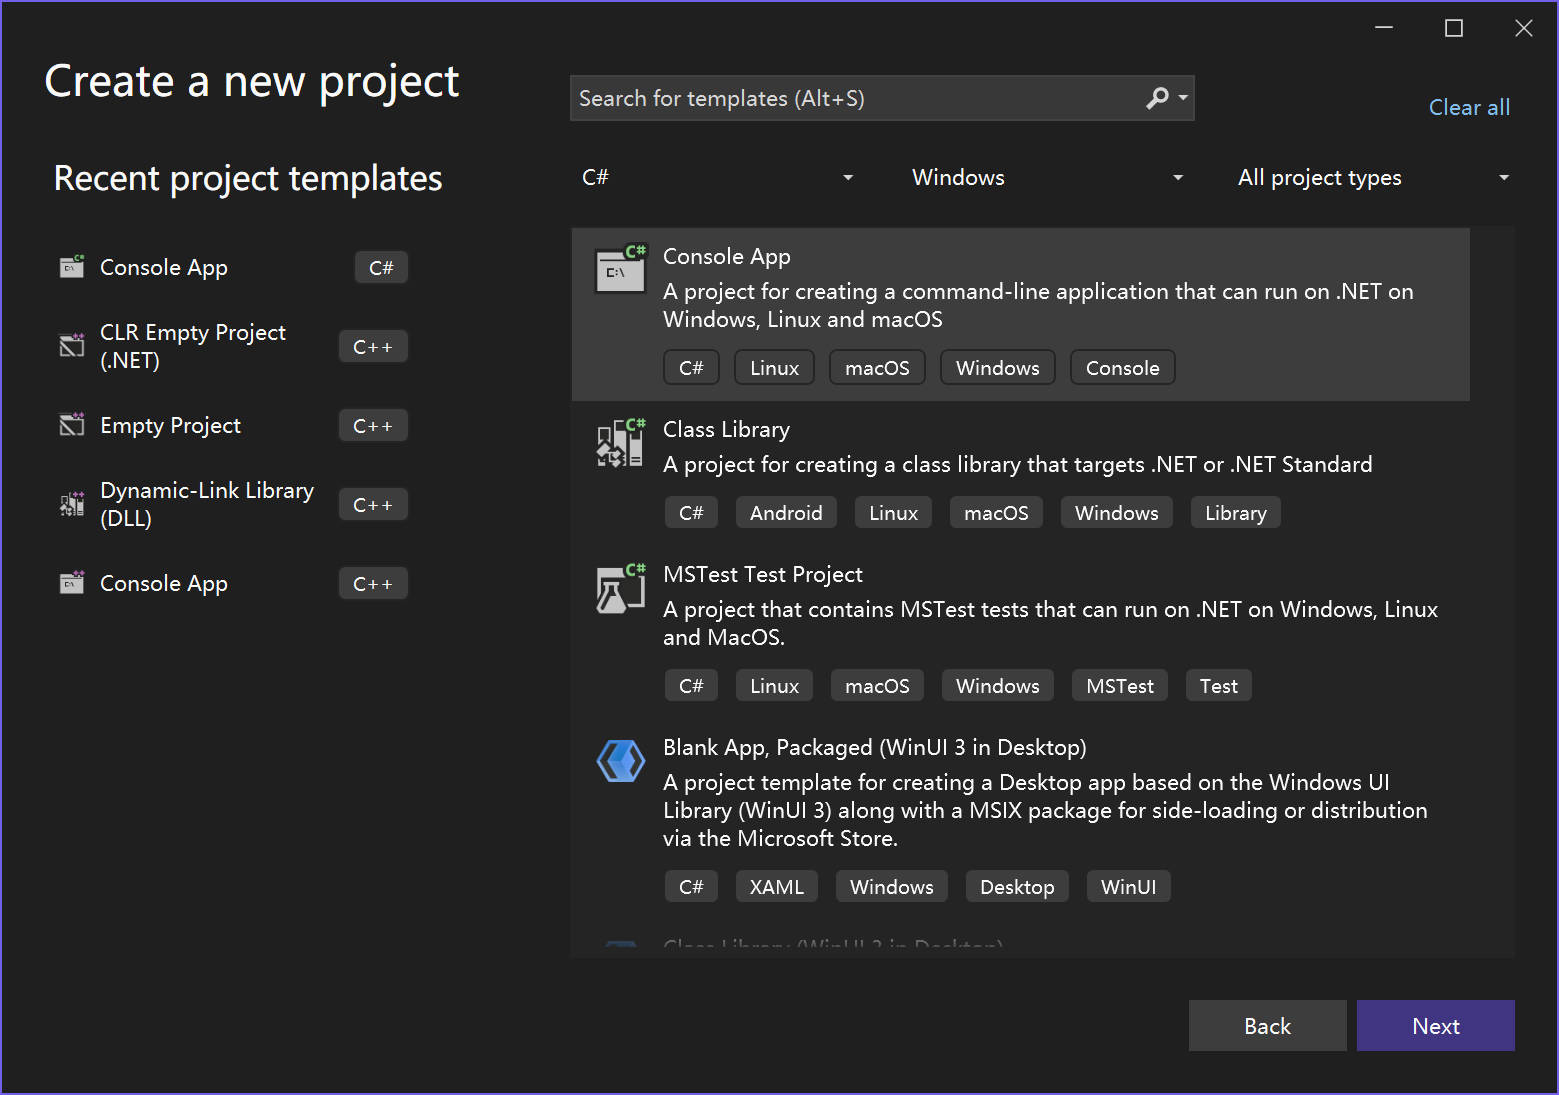
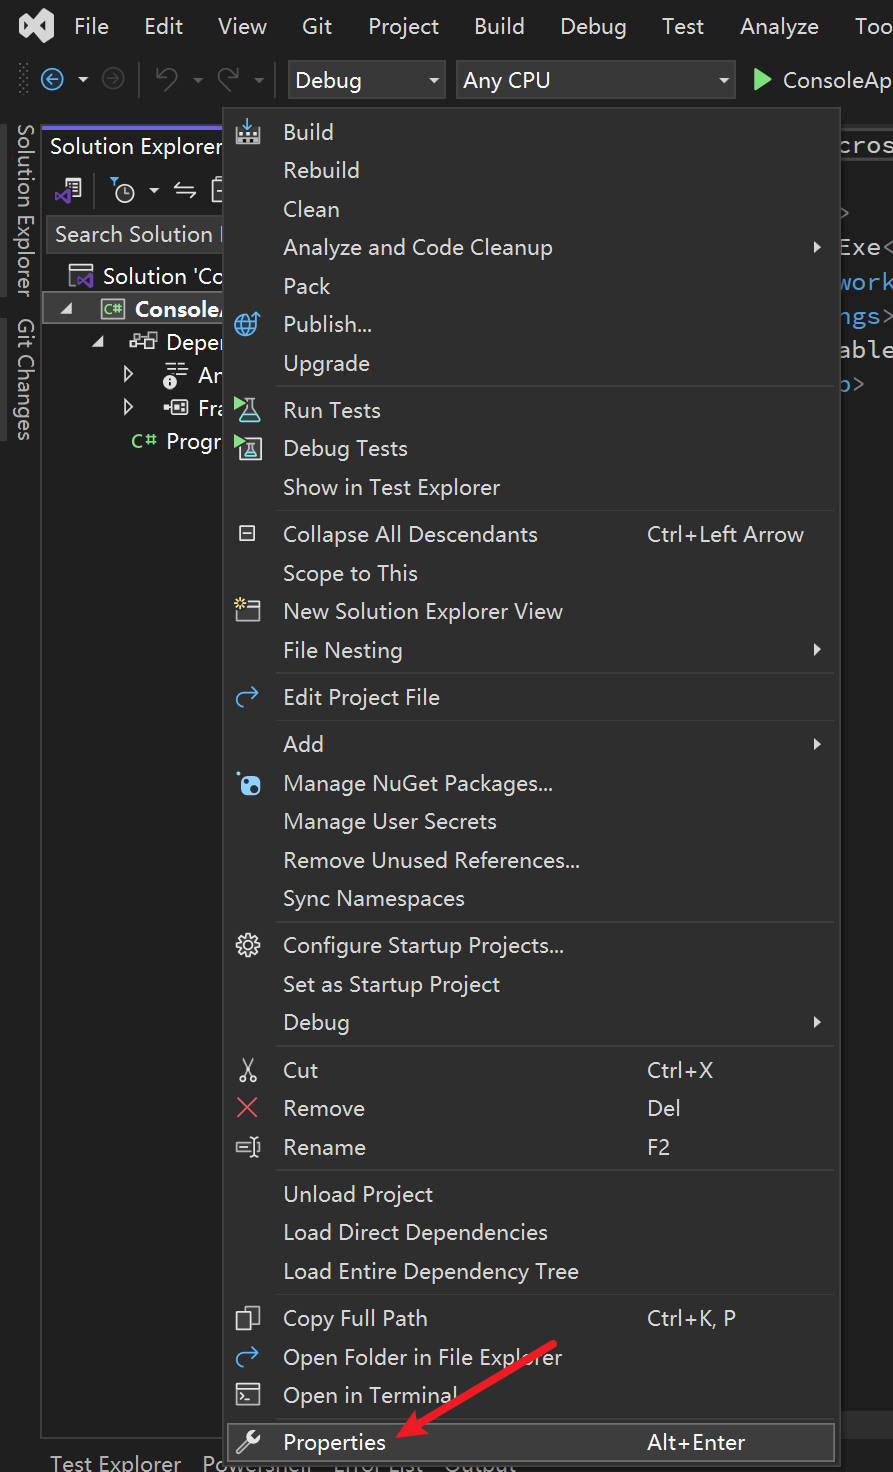
- Open the project properties, set the target OS to Windows, and pick version 7.0 or higher to leverage the latest WinApp SDK features.
- Navigate to
Tools > NuGet Package Manager > Package Manager Settings, then add the directory containing the SDK package as a new package source.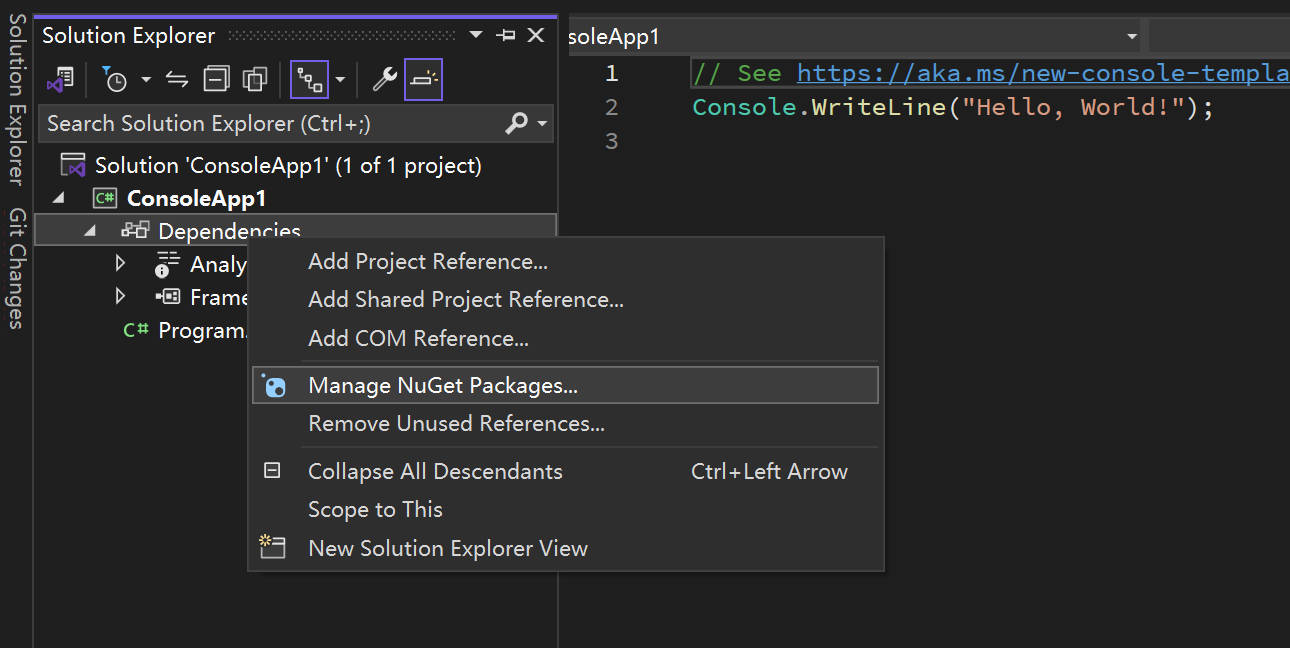
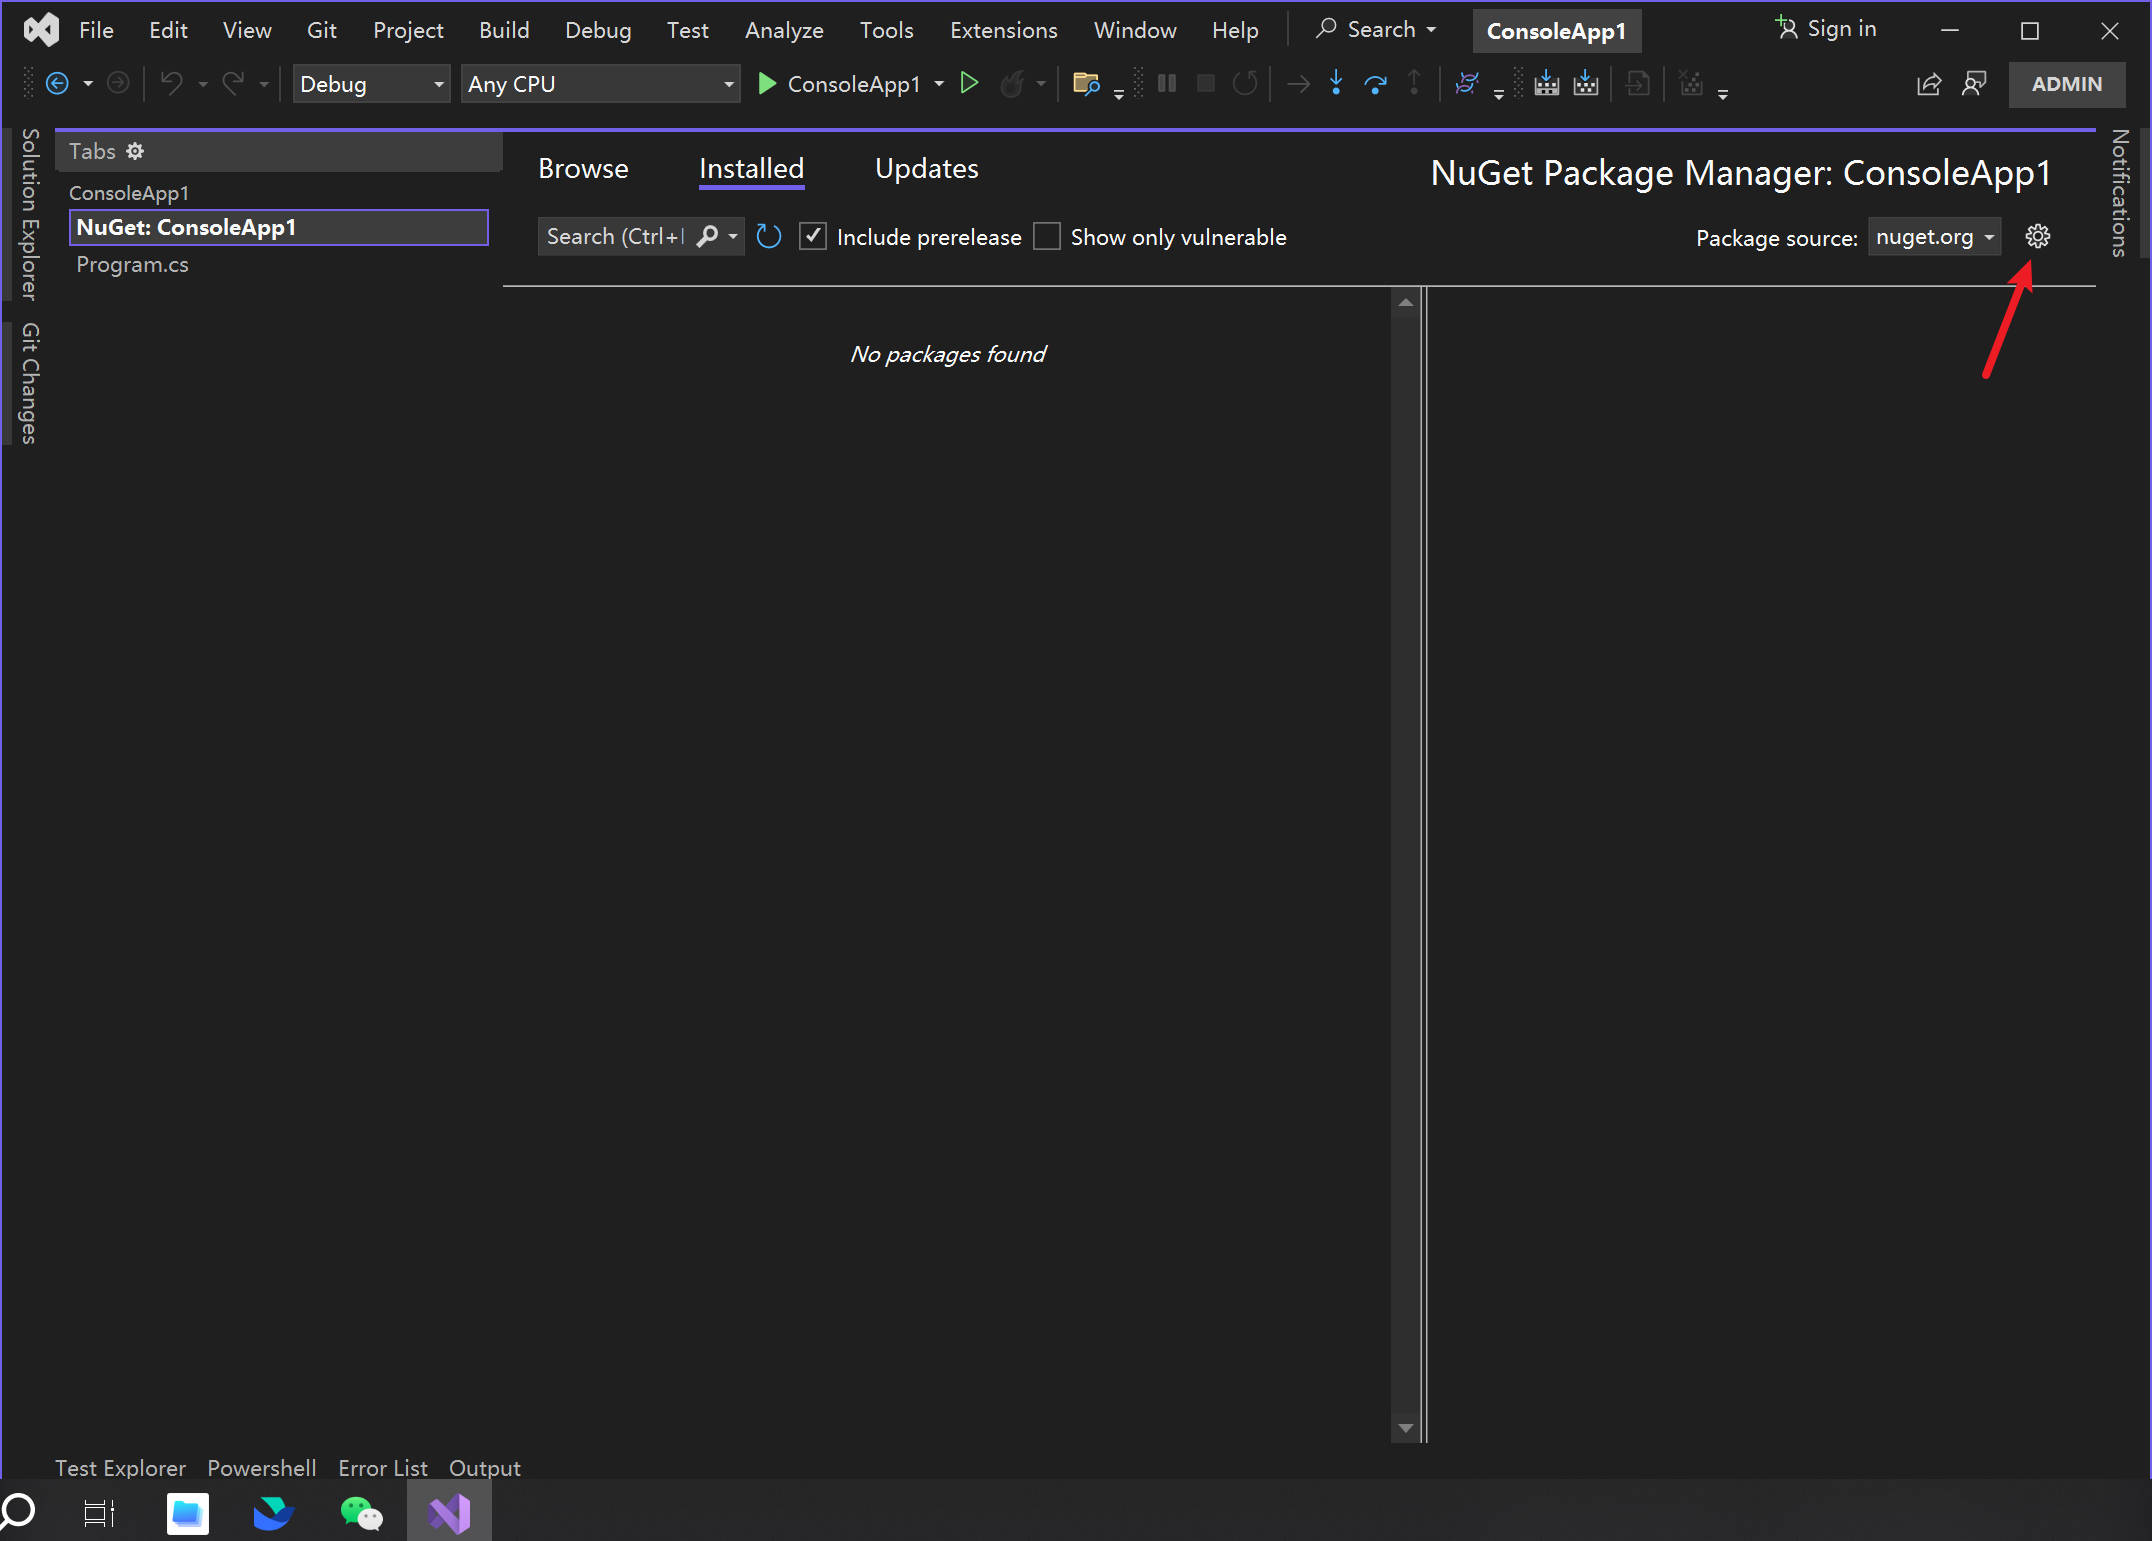
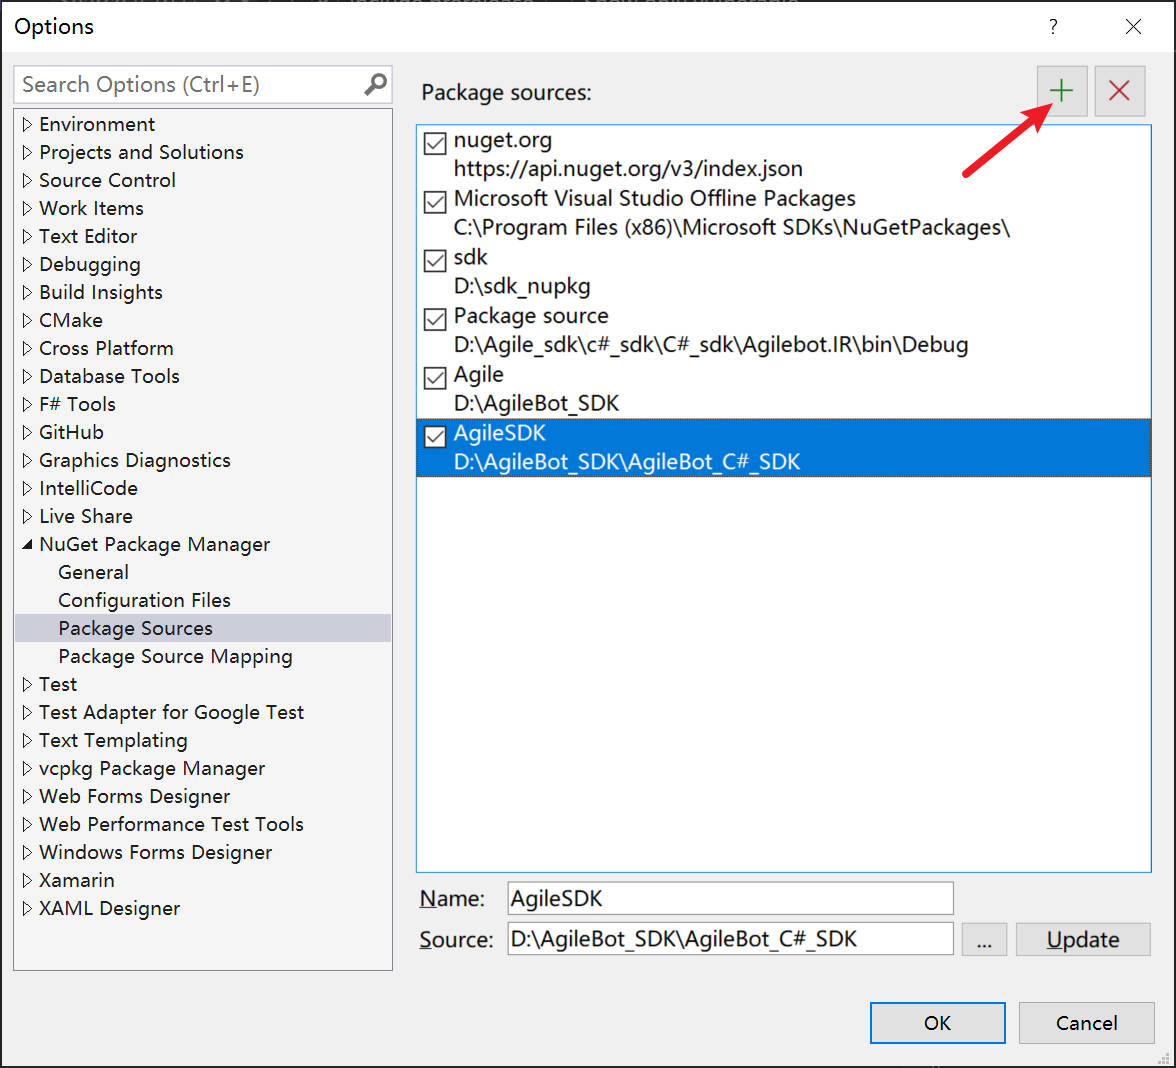
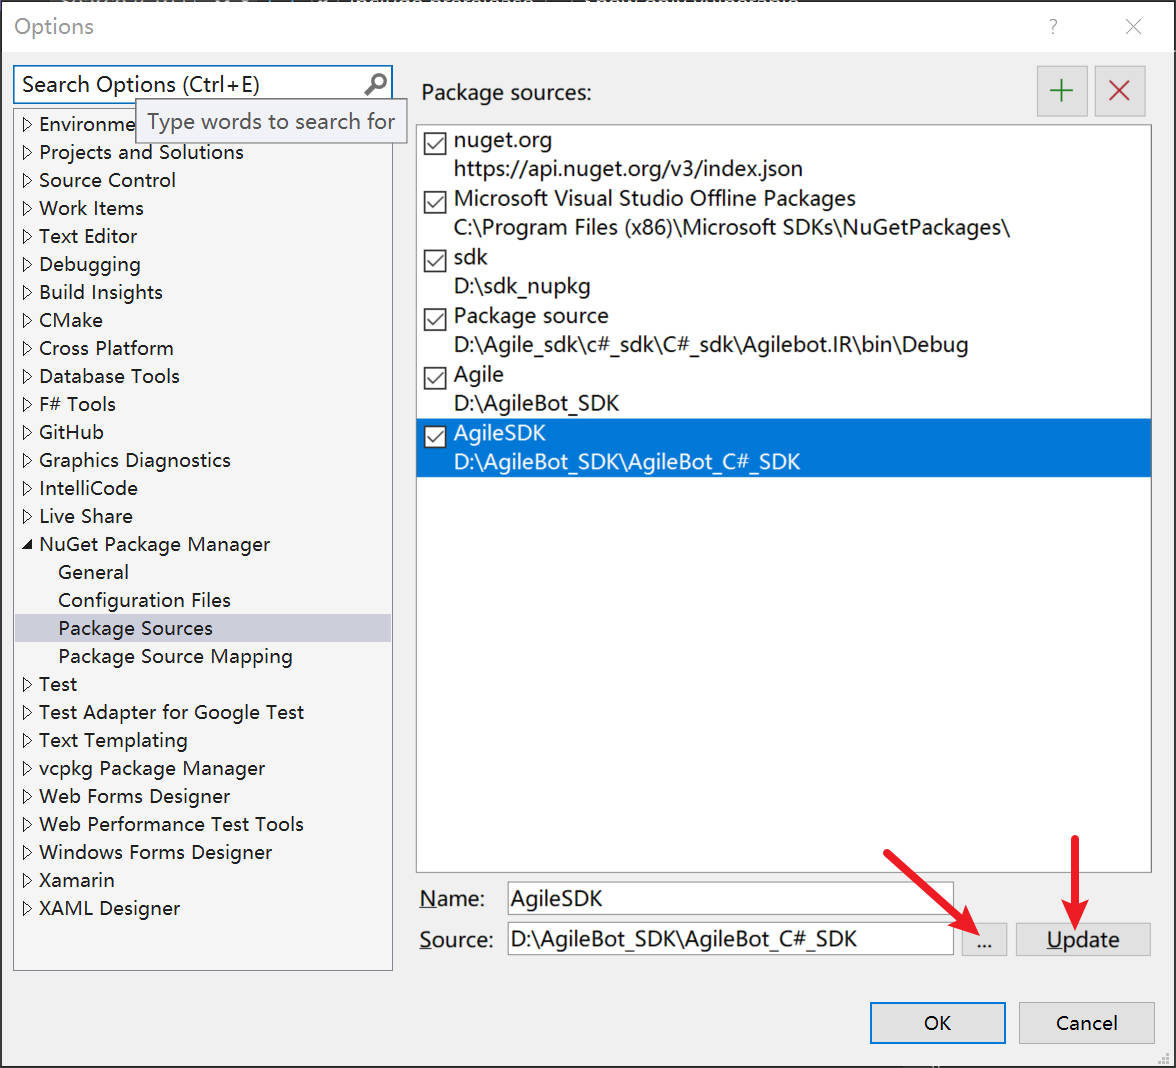
- Switch the NuGet package source to the newly added entry and install the
Agilebot.SDKpackage.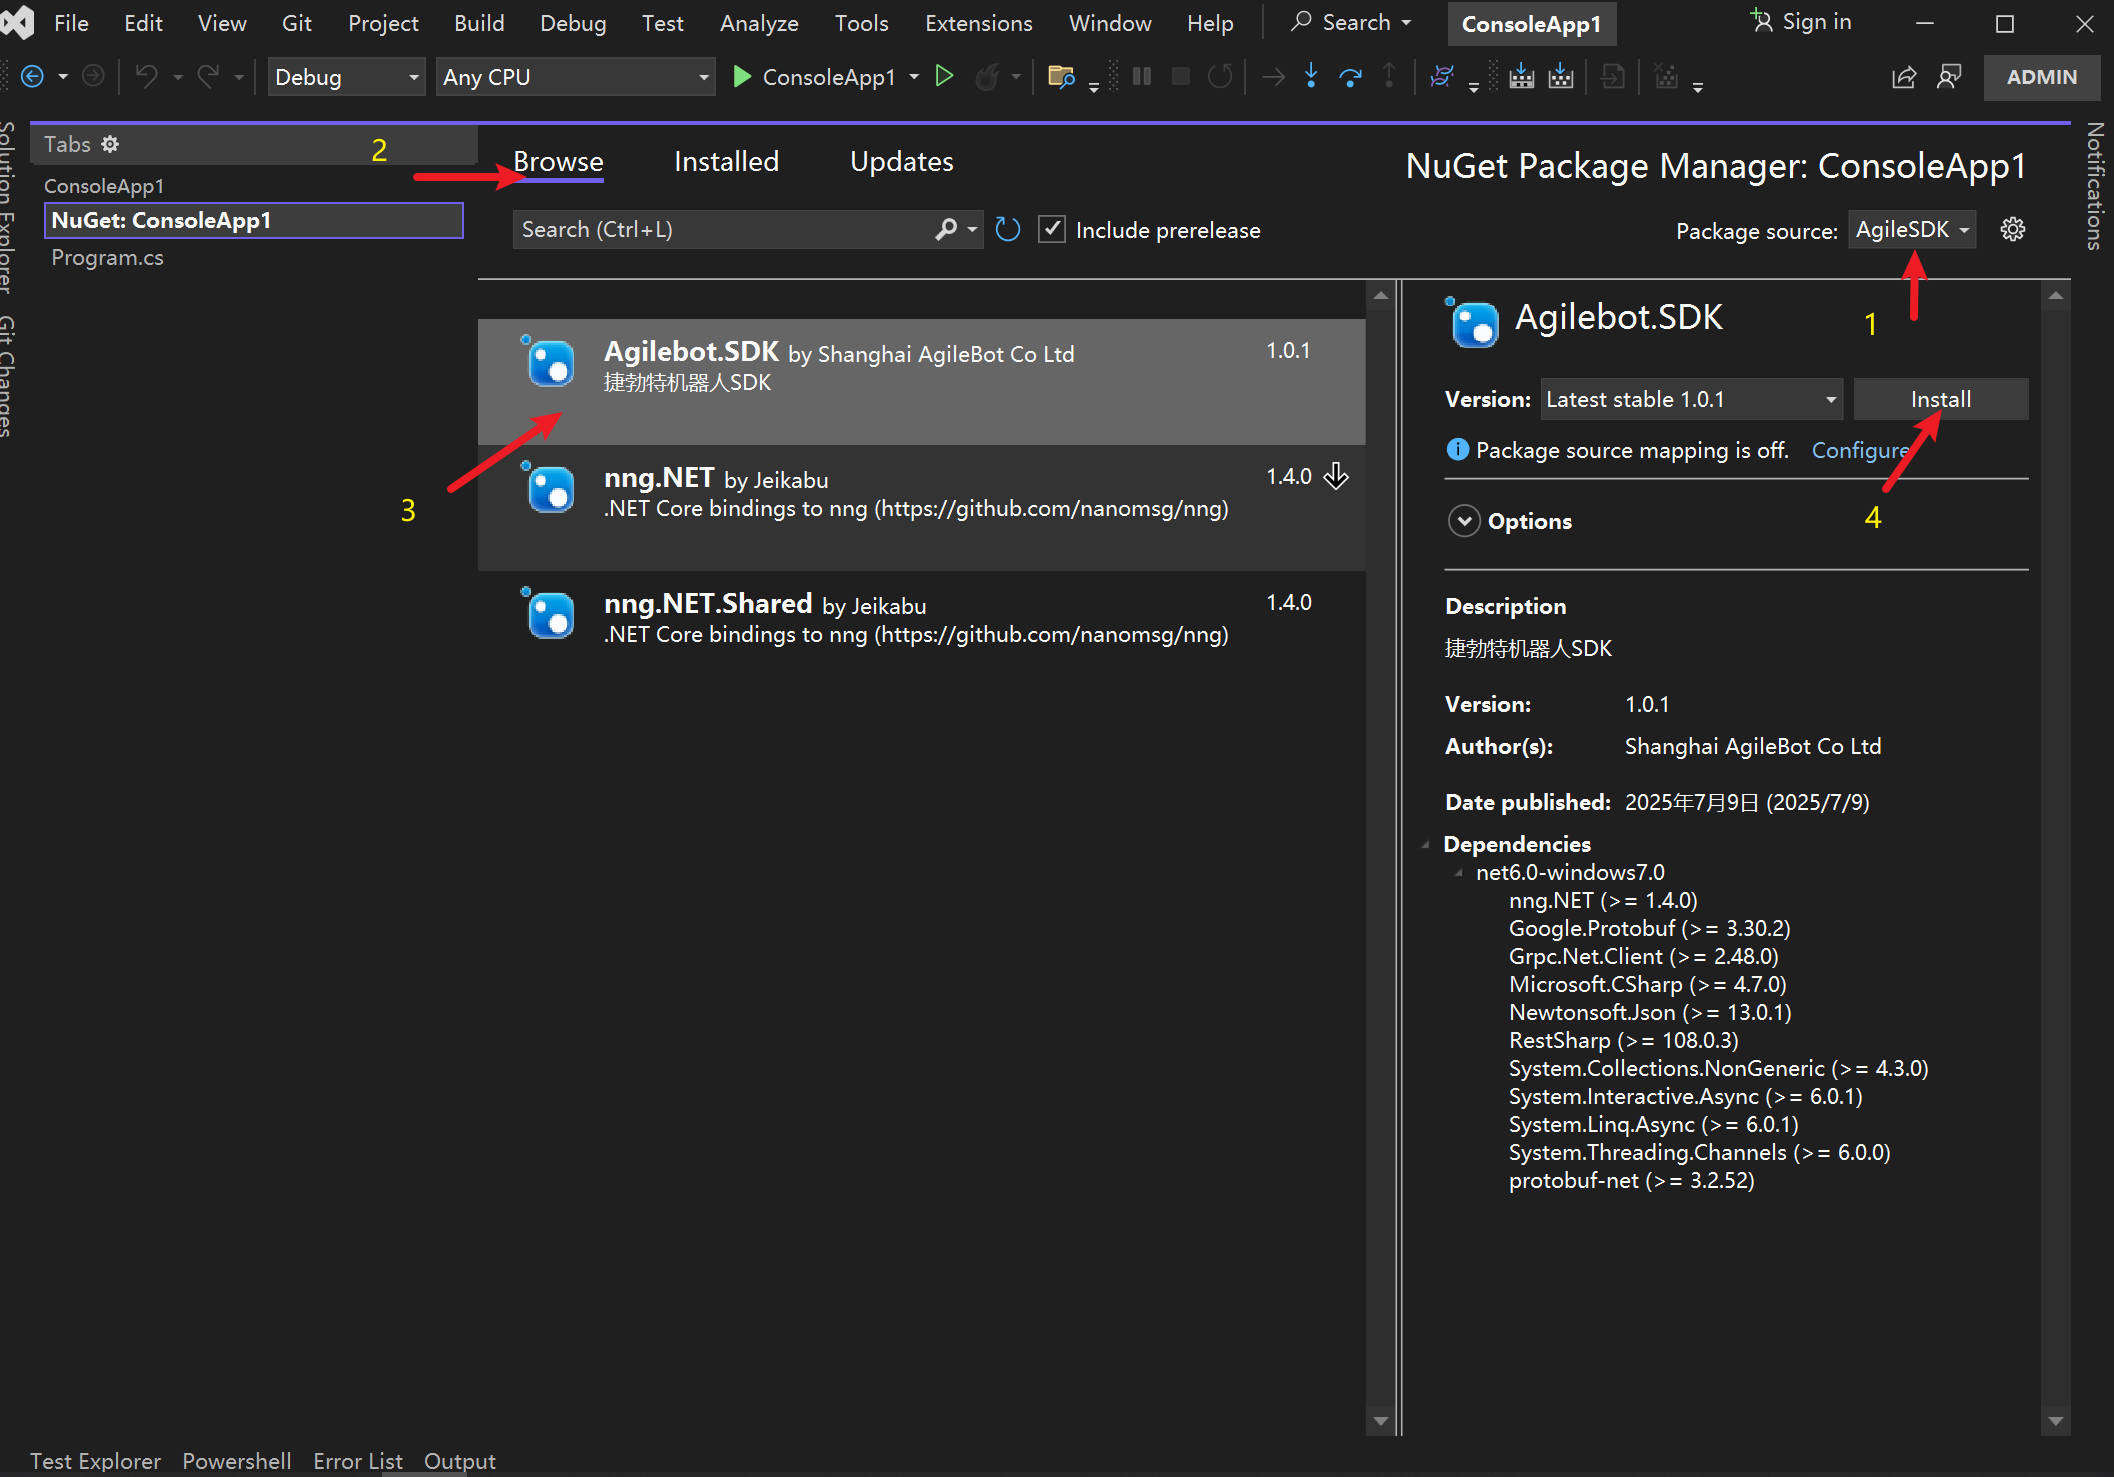
Proxy Files and Troubleshooting
- After installing the SDK, the project automatically gains a
Toolsfolder containingcontroller_proxy_service_windows_amd64.exe, which is required when using the local controller proxy. If the executable is missing, copy it manually into both the project folder and the build output directory. - If the proxy service stays alive because the program exited unexpectedly, open Windows Task Manager, locate controller_proxy_service_windows_amd64, and end the process.
- While the proxy service is running, do not move the directory where the proxy service is located to another location.
Networking and Debugging Requirements
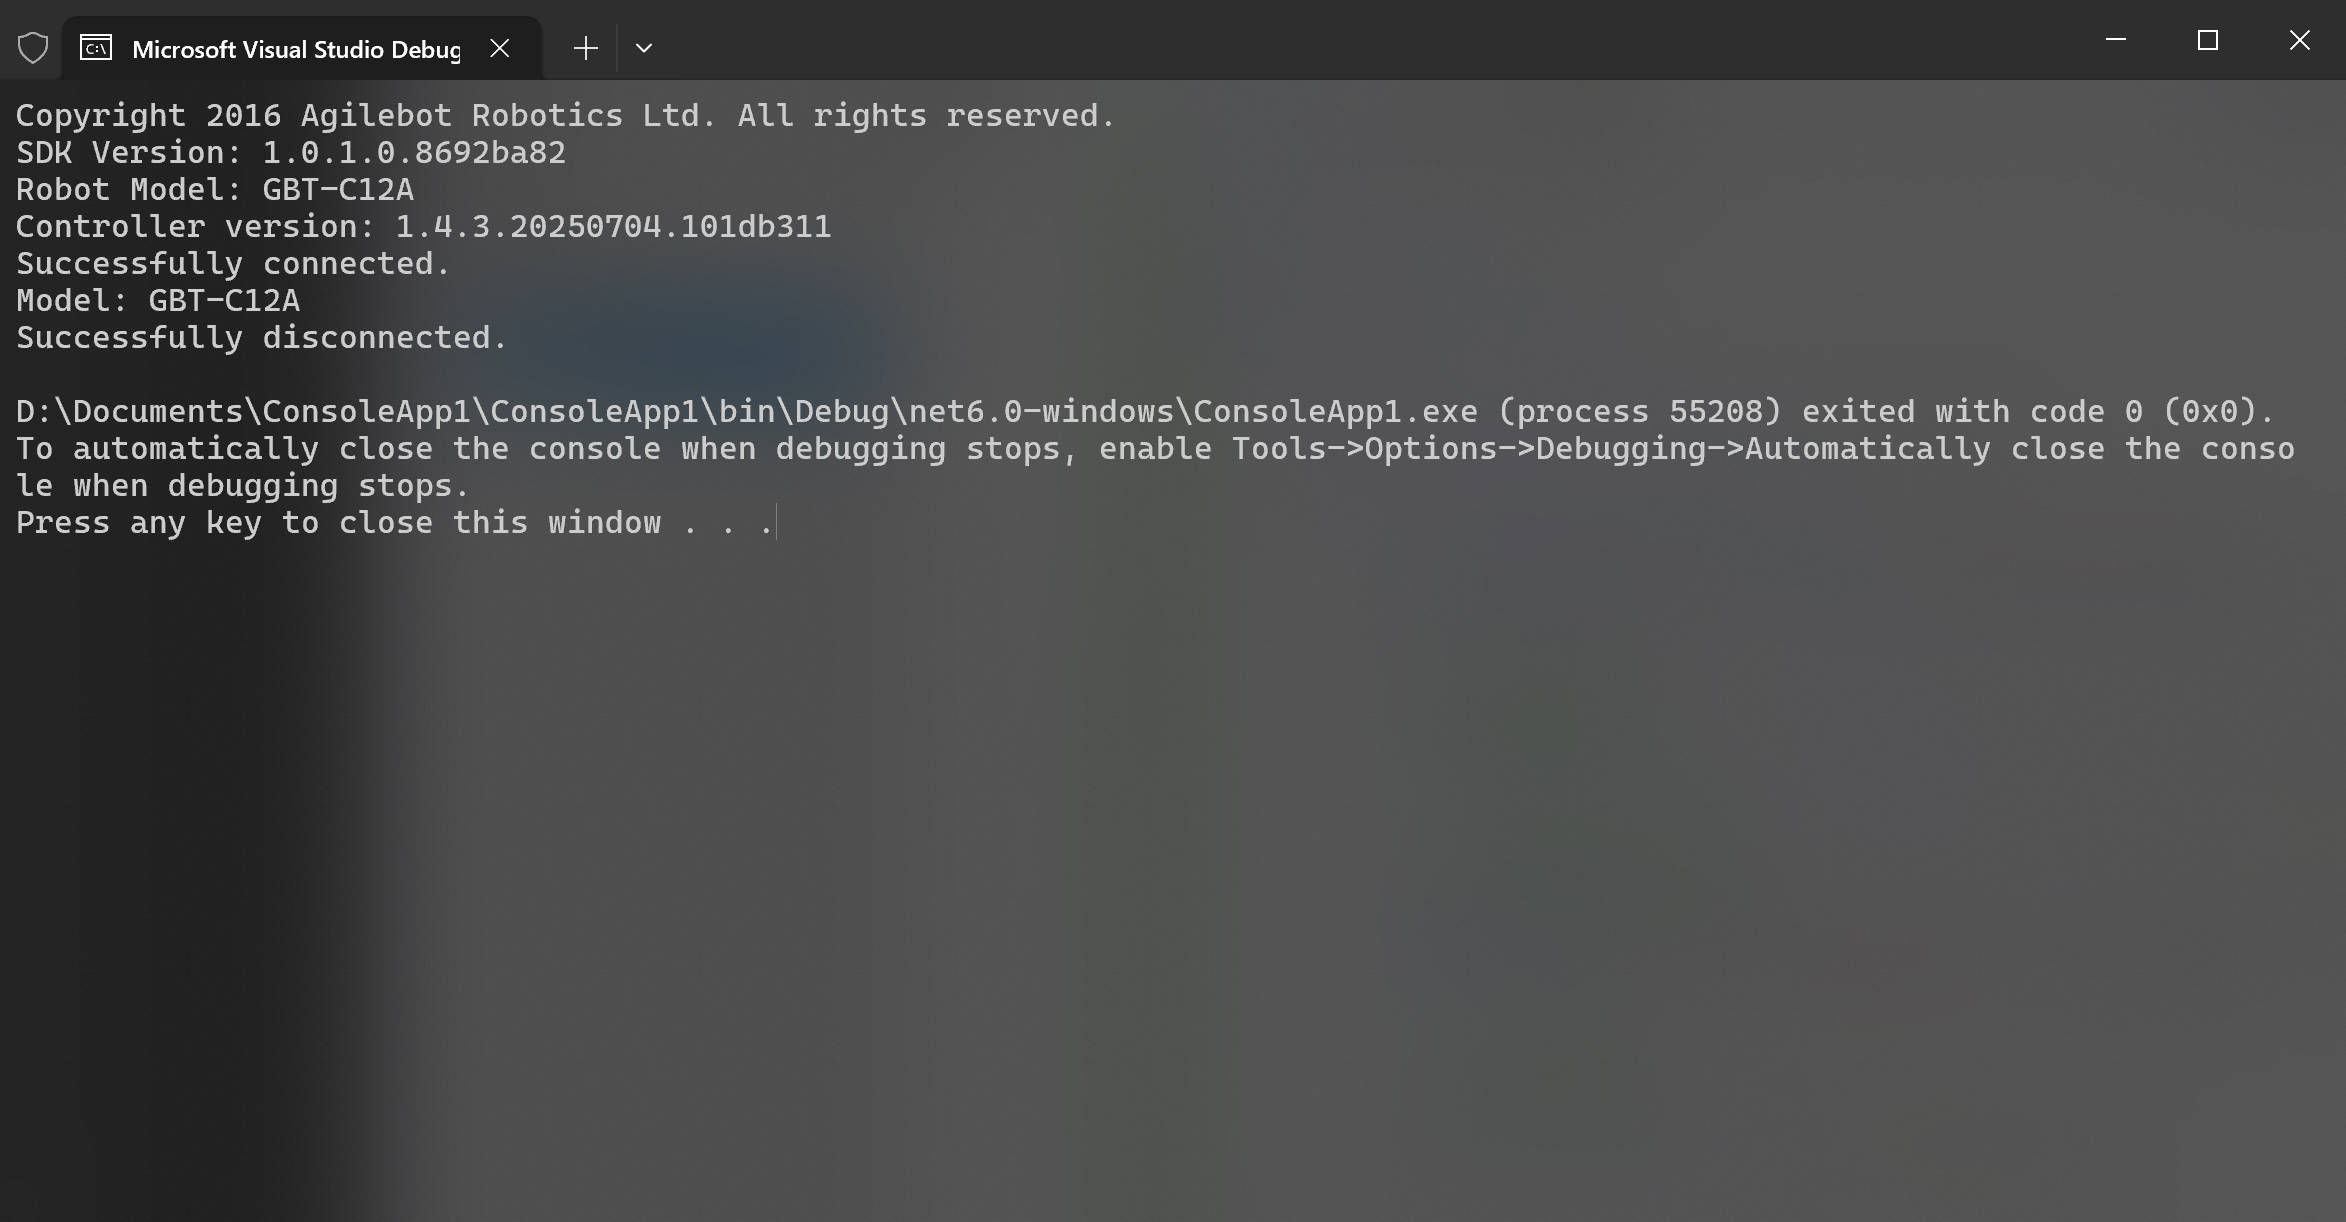
- Before running your code, make sure the host PC is connected to the robot network or shares the same LAN as the robot.
- Keep the network stable during debugging to prevent the proxy service from dropping unexpectedly.