Web Mini Program Development
This page aims to guide developers on how to develop Web Mini Program type extension packages.
DANGER
When extension web pages (including Web Mini Programs and General Services ) are open, physical buttons and shortcuts on the industrial teaching pendant will be disabled.
To enable shortcuts in your extension, please refer to: Enable Shortcuts
About Web Mini Programs
What is a Web Mini Program
A Web Mini Program refers to pages developed by developers according to their needs, following web development standards, other than the existing pages in AgileLink.
Creating Web Mini Programs
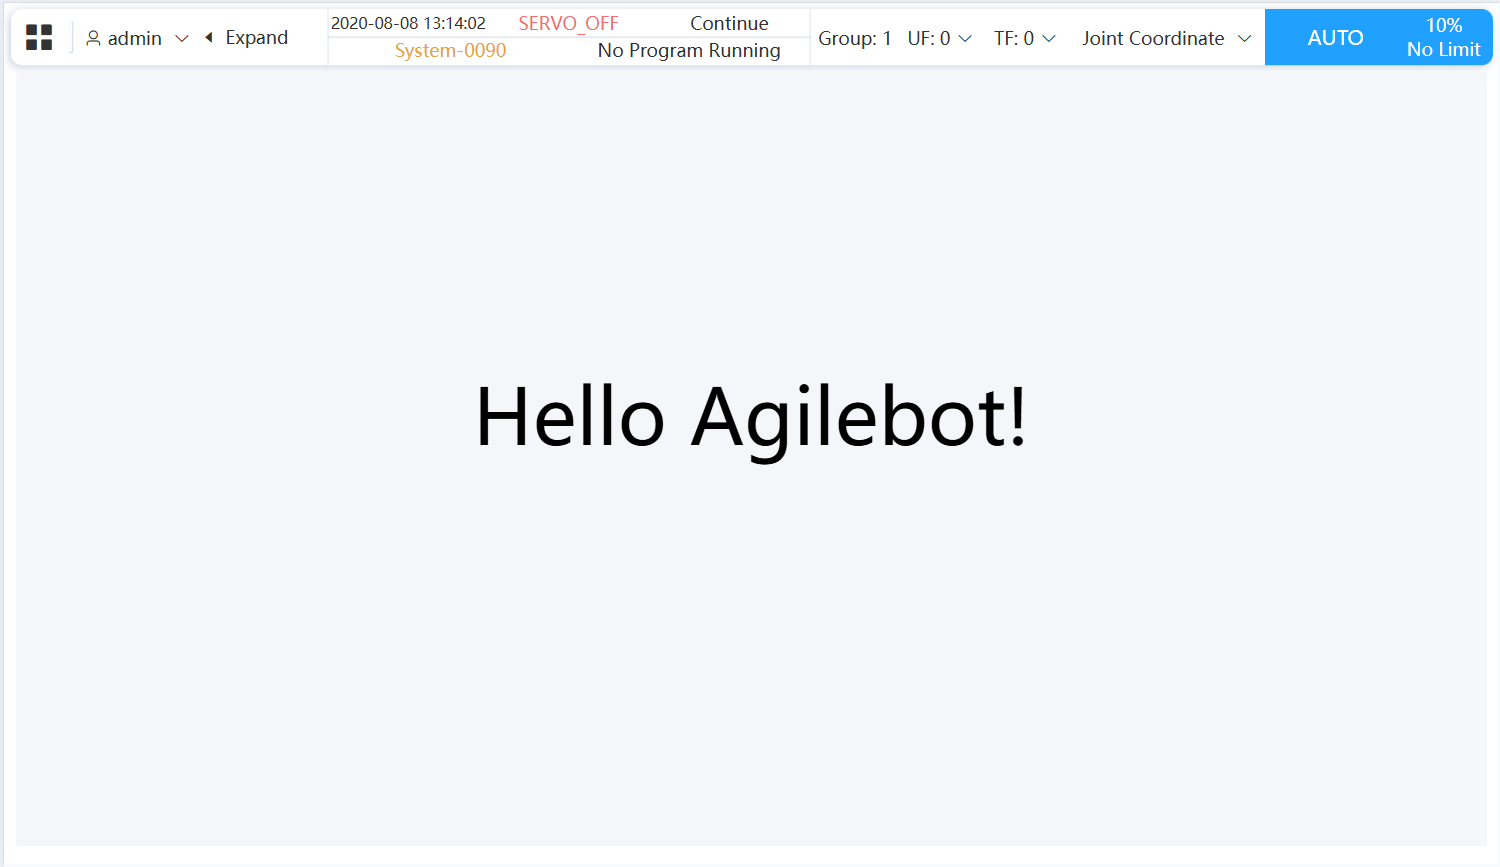
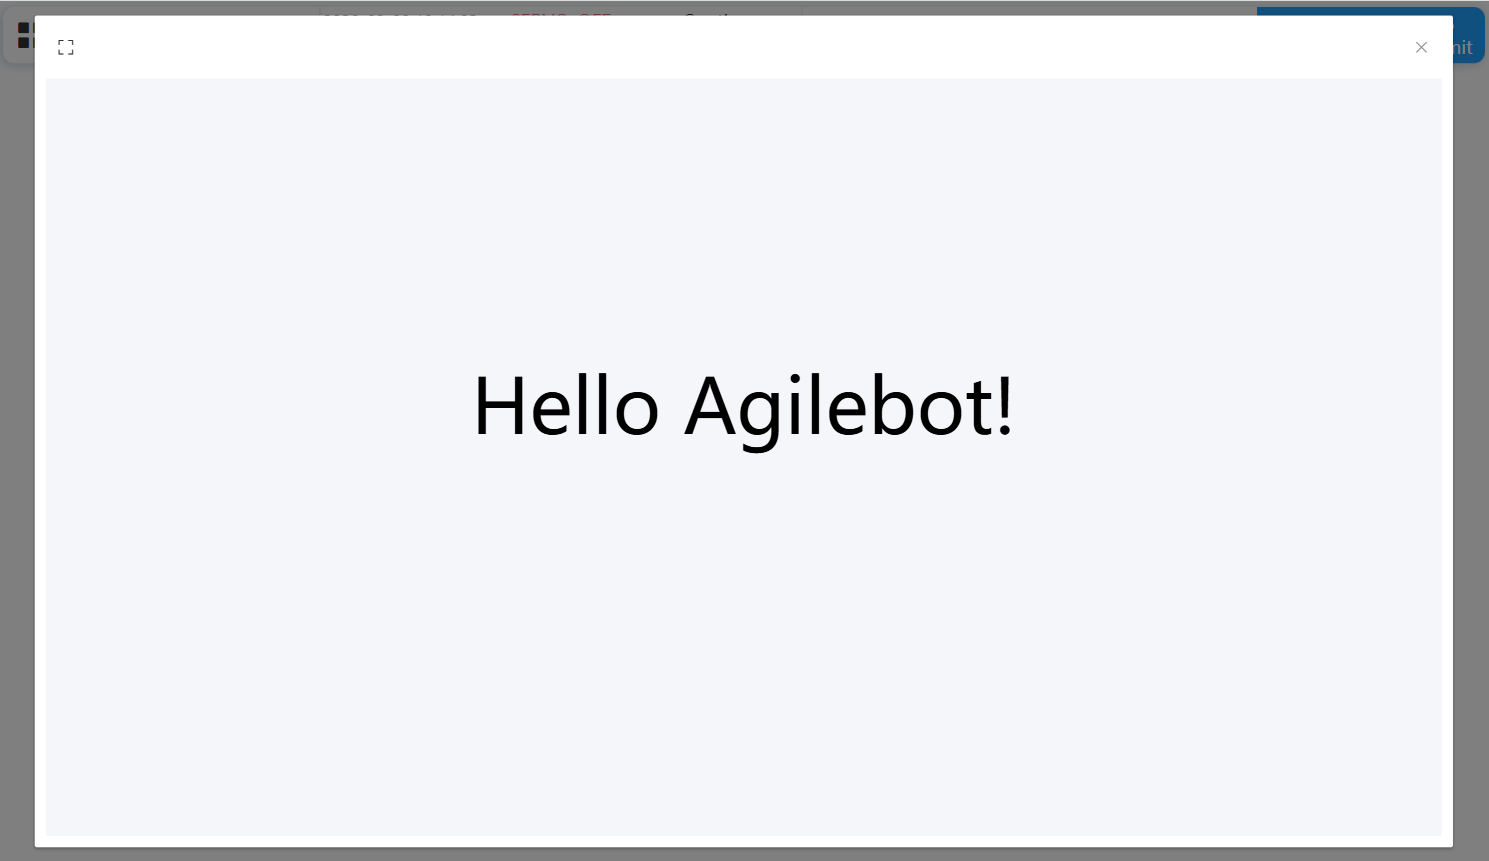
Currently, we provide the use of standard frontend projects to create Web Mini Programs. In this demonstration, we will create a Web Mini Program type extension whose function is to display "Hello Agilebot!" on the page.
Step 1: Create Extension Folder
First, we need to create a basic extension folder that contains a config.json configuration file and frontend project files. We recommend using src as the folder name for the frontend project.
You can create it manually from scratch or modify the template in the "demo" directory in the extension development package repository.
TIP
HelloAgilebot in the following text is the name of the Web Mini Program extension we are about to create.
Directory structure:
- HelloAgilebot
- config.json
- src
- index.html
<!DOCTYPE html>
<html>
  <head>
    <meta charset="UTF-8" />
    <meta name="viewport" content="width=device-width, initial-scale=1.0" />
    <title>Hello Agilebot!</title>
  </head>
  <body style="background-color:#f5f6fa;">
    <p style="font-size: 10vh;text-align: center;margin-top: 20%;">
      Hello Agilebot!
    </p>
  </body>
</html>{
"name": "HelloAgilebot",
"type": "webMiniProgram",
"description": "Display Hello Agilebot!",
"version": "0.1",
"url": "index.html"
}Step 2: Package and Install
For extension packaging, please refer to Packaging and Installation
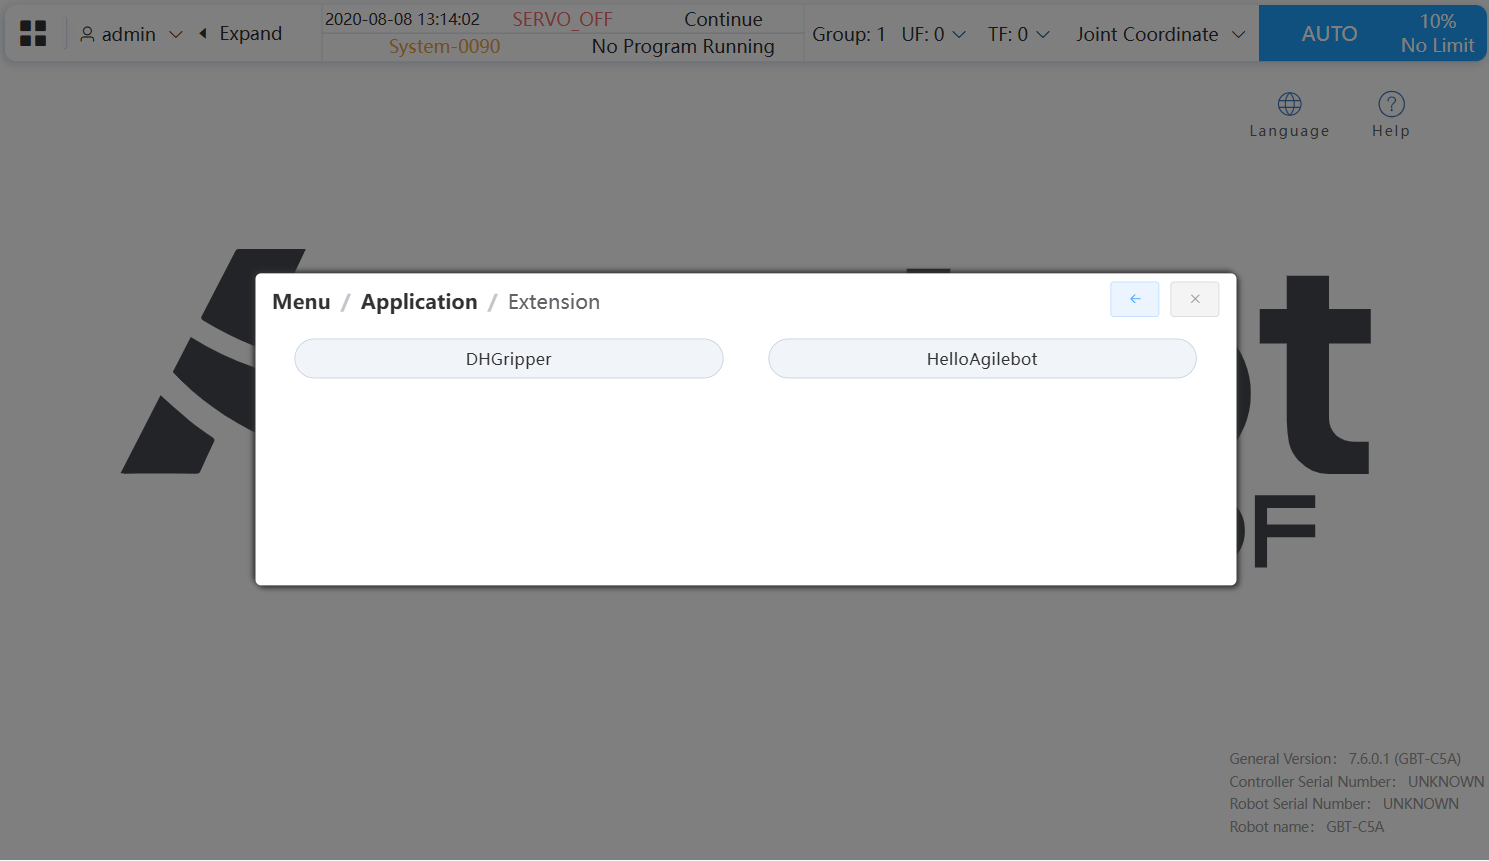
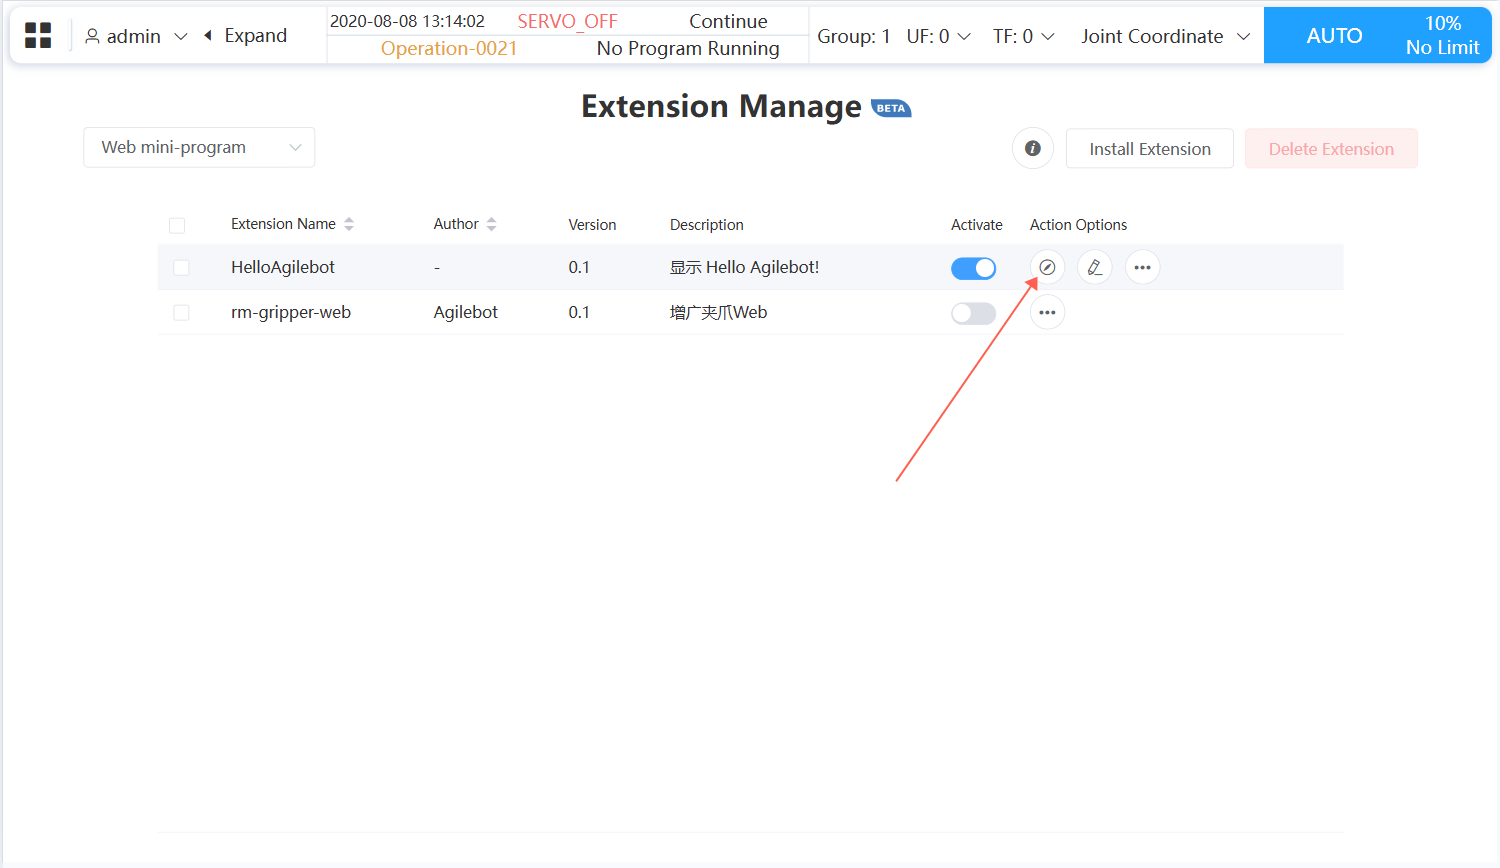
Step 3: Access the Page
Below are two ways to access the previously created page.
- Method 1: Find the extension name in extension management and click the compass button to access.
- Method 2: In the
Application-Extensionmenu, find the extension name and click to access.